Making good hamburger patties may seem like a straightforward process, but more goes into cooking impressive burgers than just slapping a disk of grilled meat between a bun. While you can vary the type of meat and seasonings, or even make stuffed hamburger patties, following these simple steps leads you to juicy, great-tasting burgers every time.

Starting Out
Simple burgers often taste the best, so this example uses nothing more than coarse ground beef, salt, and pepper. High-fat content in the meat—85 percent lean, 15 percent fat, for example—produces better flavor and a juicier burger than leaner meat.

Before you begin, keep a few things in mind:
- The meat needs to remain cold until you cook it.
- You should handle the meat as little as possible.
- Maintain clean hands and a clean work area.
- Wash everything—tools, dishes, surfaces, hands, etc.—as soon as you finish making the patties.
What You Need
- Ground beef
- Salt
- Pepper
- Sheet pan
- Optional: waxed paper or parchment paper
Divide the Meat

Start by setting out a clean sheet pan, optionally lined with a piece of waxed paper or parchment paper for easier cleanup.
Portion the patties to fit the size of the intended burger bun. The higher the fat content of the meat, the more hamburgers shrink as they cook. If you use 85/15 lean/fat or higher, make the patties slightly larger than the buns. Keep patties made with leaner meat to the actual size of the buns.
Additionally, keep all the patties consistently sized so they cook at the same rate. Otherwise, you might end up with some overcooked and some undercooked burgers. Use a kitchen scale if you have one, or form a ball of the ground meat in your hand and hold it to get a feel for the size; repeat to make all the burgers the same. Either way, it’s common to get four patties out of a pound of beef.
Shape the Patties

When you shape the patties, press down in the center while you simultaneously pat the sides, turning the burger in your hand to keep it even. This prevents the patty from cracking around the edges. You should end up with a solid, compacted disk of meat.
Depress the Center

Hamburger patties shrink as they cook, causing deep cracks to form and the edges to break apart. To prevent this, slightly depress the center of the patty to push a little extra meat toward the edges; aim for 3/4-inch thick at the sides and 1/2-inch thick in the center. This trick produces an evenly cooked patty that holds together on the grill.
Season the Patties

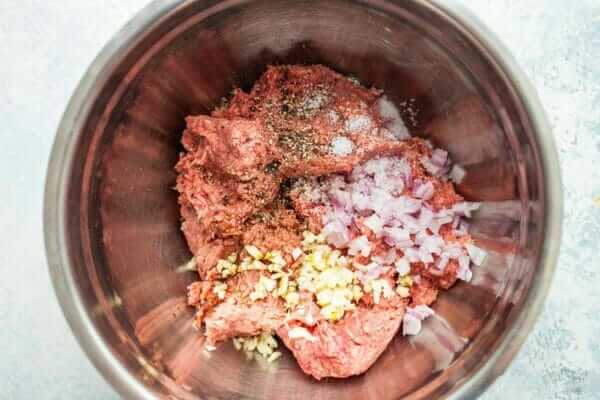
Season hamburgers the way you would a good steak, with a generous amount of salt and black pepper to taste. You can stop there or add other herbs and spices if you like. Spice lovers might choose a sprinkle of hot red pepper flakes. Dried Italian seasonings, herbes de Provence, and smoky paprika all add a nice flavor to the meat. You can dust the top of the patties with seasoning or mix it into the ground beef before you form the patties. If you use 80 or 85 percent lean beef, you do not need to brush the patties with oil before you put them on the grill or in a skillet, since the meat contains enough fat distributed throughout to prevent sticking.
Store the Burgers

You can prepare the patties ahead of time and keep them in the refrigerator, but make sure they don’t spend too much time exposed to the air. Unless you cook them right away, you need to keep them tightly wrappBed and refrigerated. Don’t allow ground meat to sit at room temperature, growing bacteria. Unlike steak and other cuts that benefit from coming to room temperature before you cook them, burgers should go straight from the fridge to the heat.
To store uncooked burger patties, stack them with pieces of wax paper between each one. Wrap the stack tightly in foil and refrigerate it. You can also freeze burgers this way for up to three months, but be sure to add a layer or two of plastic wrap underneath the foil.
From Thespruceeats


